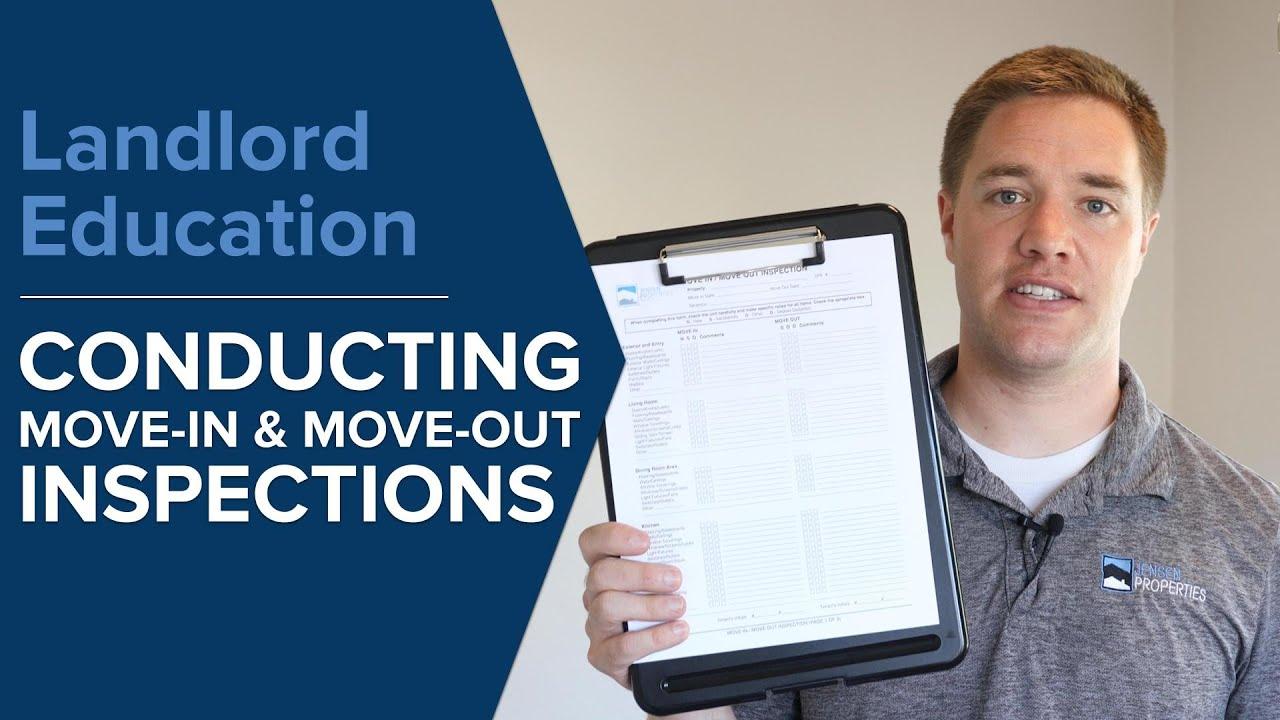
How to Conduct Move-In and Move-Out Inspections
When a tenant is moving in or out, inspections can be a tricky process. If a tenant’s move-in isn’t documented well, applying charges after they move out might become more of an argument. Similarly, if the move-out isn’t detailed enough, tenants might fight you about how clean they left it. Even if you feel like your tenant is the greatest in the world, it’s always important to document the condition of your rental property before they move in and after they leave. As a leading property manager in San Diego, we have taken over management from many other property management companies. Often we are surprised to find out that no inspections were recorded and if they were, only a handful of photos were taken and the notes were lacking. The worst part about this is when the owner or tenants get charged for something that they weren’t responsible for. Here are some tips to make sure you are conducting a good inspection that will protect you, your property, and tenant.
1. Don’t Leave the Inspection Up to the Tenant
Many property managers will give tenants an inspection sheet and leave the inspection and documentation up to them. However, if you want to be able to hold tenants accountable for any future damages, you will need to inspect the property yourself. This will ensure you have all the information needed to assess damages and pass on future charges. Tenants often don’t do inspections at all and then will complain later when they get charged. By doing a thorough and detailed inspection, you will eliminate most of the disagreements and potential back and forth between you and your tenants.
2. Take as Many Pictures as Possible
Don’t be shy of taking hundreds of pictures. Remind the tenants that taking this many photos can protect both the owner and the tenants. Digital cameras or smartphones can store hundreds of photos easily, so you shouldn’t need to worry about the amount. Make sure you are standing back and taking general pictures of each area, but then get up close when it matters. If you have a chipped tile in the tub, take a general shot of the tub and then an up close picture of that single tile to document the condition. This way it’ll be easy for you to know where that chipped tile is located. By taking many photos, you will also be protecting yourself from future issues. You never know when you’ll need a photo of that specific ceiling fan or that wall in the living room. You should be at least taking 100 photos per inspection - we often take 150-200 each time.
3. Date and Timestamp Your Photos
Along with taking many photos of your unit, make sure you download a free date and timestamp photo app onto your phone. You can also set some point and shoot cameras to display the date and time as well. This really will help in the long run so you will never have a question about when the photos were taken. If you’re ever taken to small claims court or need to evict a tenant, judges and attorneys really appreciate detailed photos with dates and times printed on them. This will give you credibility when you need it. Here is the one we use:
4. Test Everything in the Unit
As you’re going through the unit room by room, test everything as you go. Run the water from each faucet. Make sure hot water is getting where it needs to go and that water pressure is sufficient. Test lights and switches - even outlets if you can. Test doors, locks, cabinets, drawers, closet tracks, windows, blinds, and anything else that moves. Appliances are also something that you should test if possible to make sure they’re working well at move-in and move-out. If there are issues that you don’t notice during the inspection, you can be sure that your tenant will soon be submitting a maintenance request for that thing within the next few days. We encourage you to test everything so that you can stay ahead of the issues and not get any surprises.
5. Use an Inspection Checklist
You can do this digitally or on paper, but make sure you have a section for each room. Usually inspection sheets will have the same things for each room - flooring, walls/ceiling, outlets/switches, door, etc. Usually you will check a box that shows if the item is new, in working condition, or if it needs repair. More notes are better than nothing, so don’t leave off anything. Even if you come across something that looks like normal wear and tear, you will still want to make note - especially at move in. More information is always better when it comes to inspections. Don’t forget the exterior of the property either! Take note and photos of all the exterior areas that the tenant is responsible for. This is very important when the tenants are responsible for landscaping and irrigation.
6. Take Inventory of Your Appliances
While taking pictures of your unit, take some of your appliance model and serial numbers. If tenants have any issues with one of the appliances in the unit during their tenancy, you can quickly figure out which unit it is and even have the information to give to your warranty company or appliance repair service. If you have to replace the unit for any reason, you can also supply an appliance salesperson with the information so they can make sure a new unit will fit in the same place and have the proper dimensions. Model numbers will give you information like whether the dryer uses gas or electricity as well. This can save you a lot of time and your tenants a lot of frustration.
7. Collect Move-In Funds and Other Documents
Before you hand over keys or possession, collect all outstanding move-in funds and documentation needed. Usually those should be given as a cashier’s check or money order so that you are receiving certified funds. Tenants should pay everything on or before their move-in date. Don’t make any exceptions with this rule. You’ll also want to verify that the tenant has put all necessary utilities in their name starting on the date they move in.
Ask Uplift Property Management
As a San Diego property manager, we do all the things above to protect you and your property. All move-in and move-out inspections are included in our full service management fee. If you are wondering how you are going to do your move-in or move-out inspection, please contact us. We would love to talk to you about some of these suggestions and others that might help. If you’d like to take advantage of a free rental analysis for your property, please click here. Please visit our Services & Pricing page to learn about all our services. Make sure you keep up your Landlord Education by following Jensen Properties on Facebook, Instagram, or YouTube.


