How to Take Listing Photos of Your Rental Unit
Taking high-quality listing photos can be one of the most important things you do when marketing your unit. Prospective tenants want to see a good looking and clean unit and if you have low-quality photos, they’re less likely to want to see it or apply. With today’s DSLR cameras so easily accessible, high-quality photos are fairly easy to get. If you don’t own one, you might consider asking a friend if they can help you or if you can borrow theirs for a day.
Most everyone has a smartphone as well. While smartphones definitely can’t get the same quality shots as a DSLR, there are still some ways you can improve your listing photos. This is one set of suggestions that you shouldn’t overlook since it affects every online listing. Don’t forget that you can take hundreds of pictures and sort through them later. Also, with practice, your photos will only get better. If you’re interested in learning more about our full property management services (which includes taking listing photos), visit our Services & Pricing page. Below are some tips to get better and higher-quality photos of your vacant rental property.
1. Choose a Good Time of Day
If you have the freedom of choosing the time and day for your photos, remember some of these things. Exterior photos are best when in full light, so if you want to get a great picture of the front of your house, make sure the sun is hitting it just right. If your house faces East, the best time would be the morning. If you have a great looking backyard, make sure it gets the attention it deserves as well.
For interior photos, you will want to take them around midday. This will ensure that the maximum amount of sunlight is helping light up the rooms in your rental. If you take interior photos in the morning or afternoon, light will shine through windows and create many shadows that can be difficult to manage. For high-end properties, you might also want to take some “twilight photos” which show a property during sunset. The best time for this is usually the first 20 minutes after the sun sets.
2. Turn on All Lights
By turning on all the interior and exterior lights, you will be able to both add some additional lighting for your photos and show tenants what will be lit up in the dark. By turning on lights, you can feature some of the lighting that you might have - recessed lighting, lighting underneath cabinets in the kitchen, or even your light over your stovetop. Tenants also like to see that things are working, so make sure all the light bulbs are functioning. You don’t want to give the impression that something in your rental doesn’t work.
3. Clean Up Messes & Distractions
Sometimes vendors will leave small traces of dirt or debris after they complete their work, so make sure you have a rag or wipe to quickly clean up any messes. Having your unit professionally cleaned is always important for rental properties, so consider hiring a company to take care of that for you. Hide any distractions throughout the rental - especially if you are taking photos while the unit is occupied. Some things you will want to consider hiding are magnets on the fridge, loose cords, papers, boxes, soap dispensers, and even cars or bikes. You’ll also want to put toilet lids down, open up blinds to let light in, make beds, organize clothes or shoes, and make sure chairs are straight and pushed in.
4. Use an External Flash
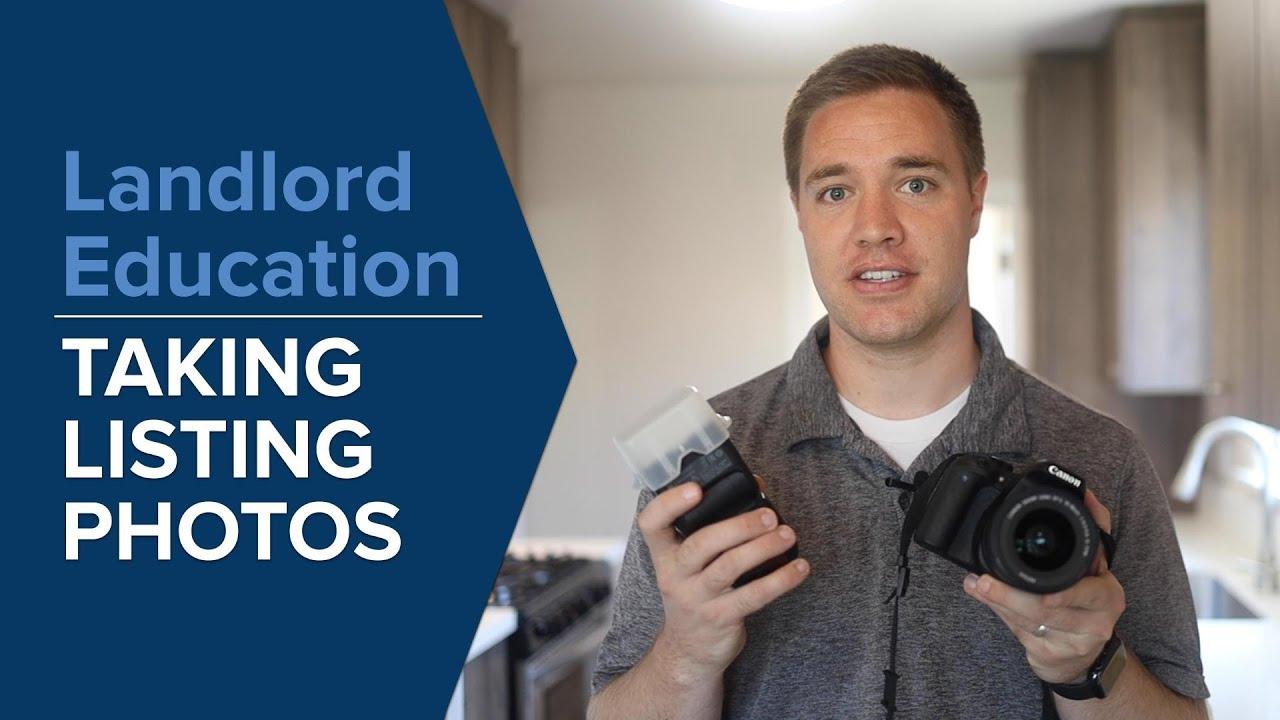
We always use an external flash for our photos to light up each room and minimize dark areas. When you use an external flash, you need to make sure the flash is pointed toward the ceiling (and forward slightly) so that the light will bounce off and fill the entire room. Diffusers also help to fill the room with as much light as possible without creating harsh shadows. Make sure you watch the video for an example of the difference an external flash can make. Click here to see the type of flash that we use for our DSLR camera setup.
5. Use a Wide Angle Lens
If you have access to a wide-angle lens, make sure you use it! If you take listing photos often as a landlord or property manager, it’s worth investing in a wide-angle lens that will give good results. This is what the professionals use and it can make a big difference for each room in your rental. DSLR lenses are measured in millimeters and the smaller the size, the wider the shot.
Most standard lenses will be about 18mm, but a good wide-angle lens will be more like 10mm. If you use a lens like this, you can stand in one corner and almost capture all other corners of the room in one shot. Wide-angle lenses also help when photographing small spaces like closets and bathrooms. Make sure you watch the video for an example of the difference a wide-angle lens can make. Click here to see the type of lens that we use for our DSLR camera setup.
6. Position Your Camera Correctly
Get into the corner of the room so that you can capture as much of the area as possible. This might sometimes mean that you have to back up into a closet or the shower in your bathroom. Photos should be taken at a little below eye level or midway between the ceiling and floor of a standard height unit. Consider taking your listing photos on a tripod so that they are at a consistent level. When you get into tight spots, you might have to take the camera off the tripod. When you are prepping your shots, try to line up vertical lines with the sides of the picture. That means that if you have walls, cabinets, appliances, or door frames in the photo, make sure they are vertical and lined up properly.
Positioning the camera lower might help with achieving this effect. Take photos horizontally or in landscape mode as often as possible. Photos online tend to look best horizontally on websites for listing rental properties. Keep this in mind even when you’re using a smartphone. If there are mirrors in a bathroom, bedroom, or on closet doors, try to position yourself to the side or underneath the mirror. Sometimes you can open up a closet door halfway to both show when the inside of the closet looks like and to avoid showing your reflections while taking the picture.
7. Using a Smartphone
If you’re considering taking listing photos using a smartphone, first try and see if you have a friend who might loan you a DSLR camera and lens. We always recommend using a real camera over a phone. If you have to use a smartphone, make sure you’re following the tips above - positioning your phone correctly, trying to maximize the amount of light, cleaning up, and turning on all the lights you can. Some smartphones have wide-angle lenses, so use that if you have that option. You could also buy a wide-angle attachment for your smartphone that creates a wide-angle effect; however, keep in mind that those attachments usually give a fish-eye effect.
Ask Uplift Property Management
As a San Diego property manager, we want to help landlords and owners everywhere. If you are wondering how you are going to take photos of your vacant rental, please contact us. We would love to talk to you about some of these suggestions and others that might help. Taking listing photos is included in our management fee for all our properties. Take advantage of a Free Rental Analysis for your property. Our full property management service includes all this and more. Of course, we also offer lease only services where we can list, market, and show your unit. We also process applications and get a signed lease done. Make sure you keep up your Landlord Education by following Uplift Property Management on Facebook, Instagram, or YouTube.
CAMERA GEAR THAT WE USE:
Even though you can use most any DSLR camera, wide-angle lens, and external flash, here is the equipment that we currently use:
Camera Canon t7i DSLR


